How to Screen Record on Chromebook: A Comprehensive Guide
If you're a Chromebook user, you may be wondering how to screen record on your device. Fortunately, there are two easy ways to do this - with Vento or the built-in screen recorder. In this guide, we'll walk you through both methods and show you how to screen record on your Chromebook with or without internal audio.
Last updated May 1, 2023
Method 1: Using Vento to Screen Record on Chromebook
Vento is a website-only screen recorder tool that comes with an optional but recommended Chrome extension. It's a great choice for those who want to record their screen and share the video with others. Here's how to use it:
Step 1: Open the Chrome browser on your Chromebook and go to the Vento website at vento.so.
To get started, visit the website at https://vento.so
Note: For the best experience, ensure that your Chrome browser is up to date!
Step 2: Click "New Recording"
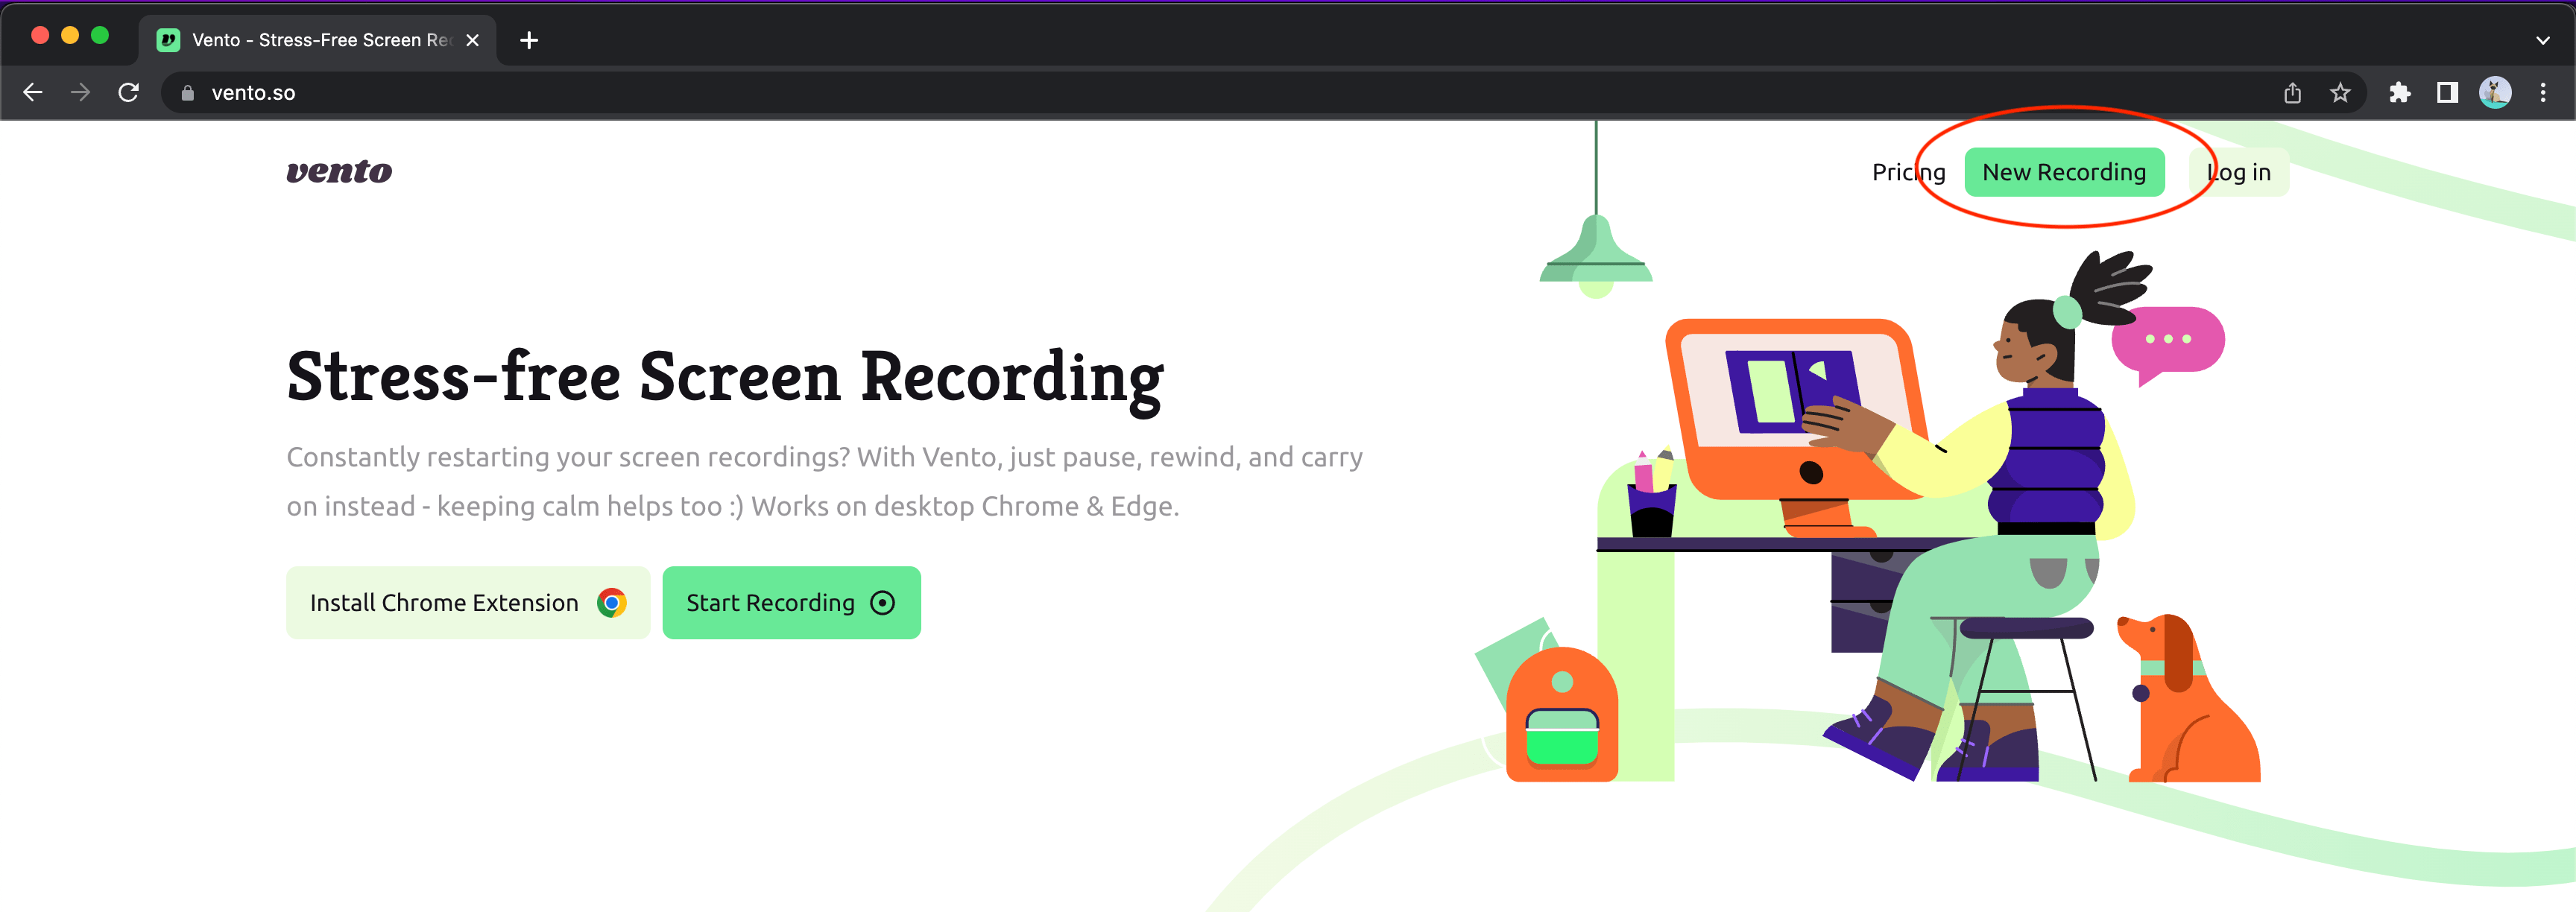
Click on the "New Recording" button. While you can use Vento anonymous, it's recommended that you sign up for an account so that you can generate transcripts and save your recordings permanently.
Step 3: Start Recording
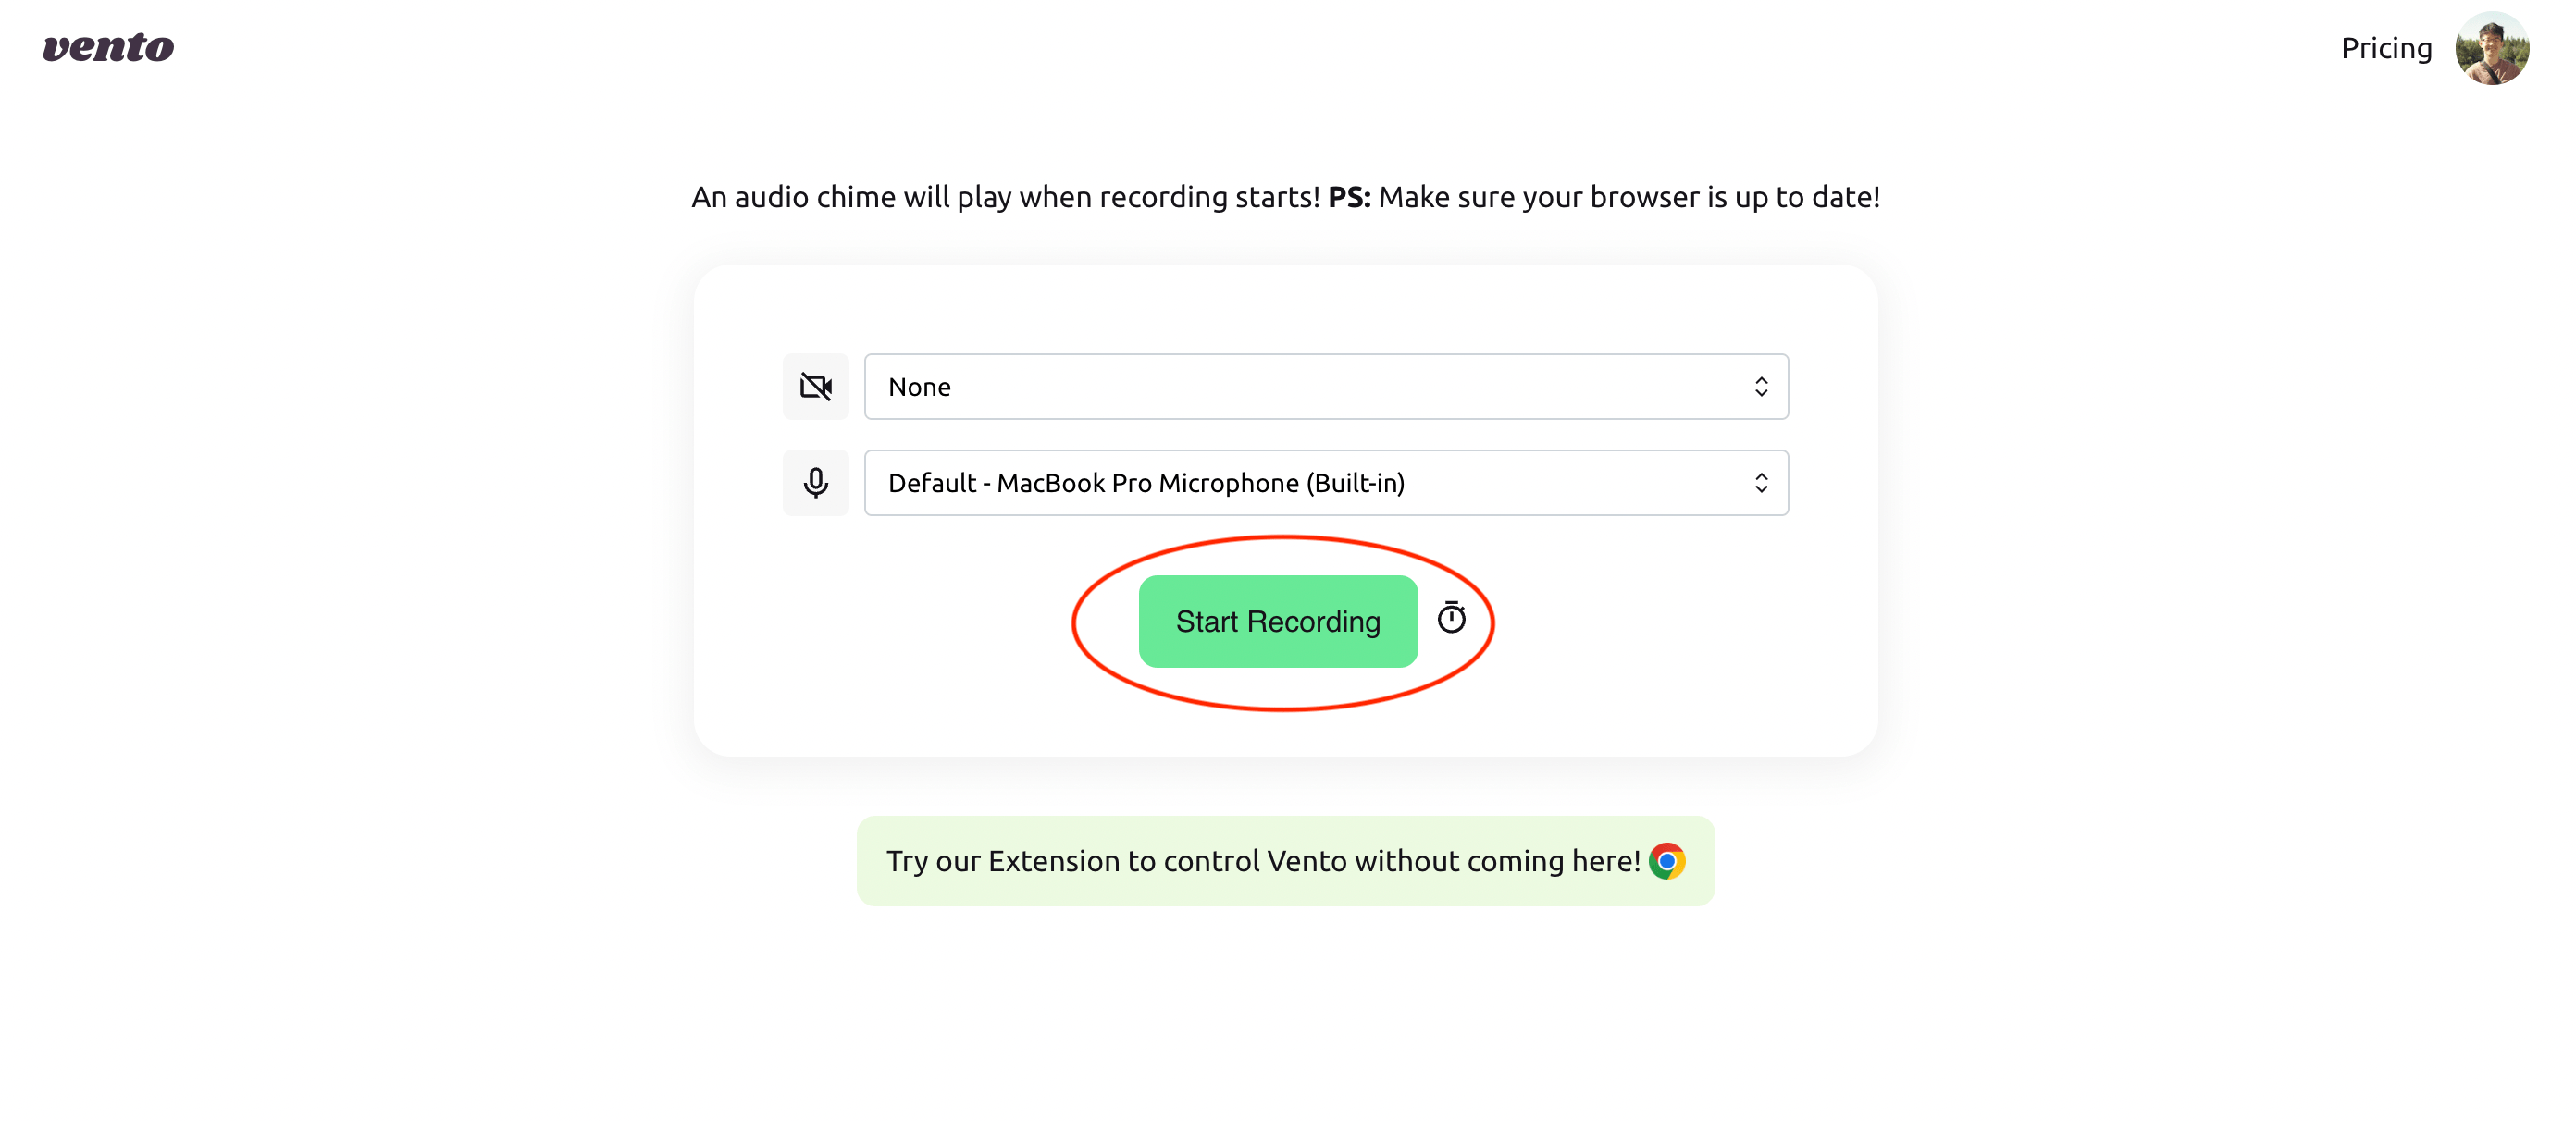
Select your microphone and webcam input if desired. When ready, click on the "Start Recording" button. You'll be prompted to choose to record your entire screen or just a specific application window/tab. On Chromebook and Window, you'll be able to record both your microphone as well as internal audio, such as a video playing.
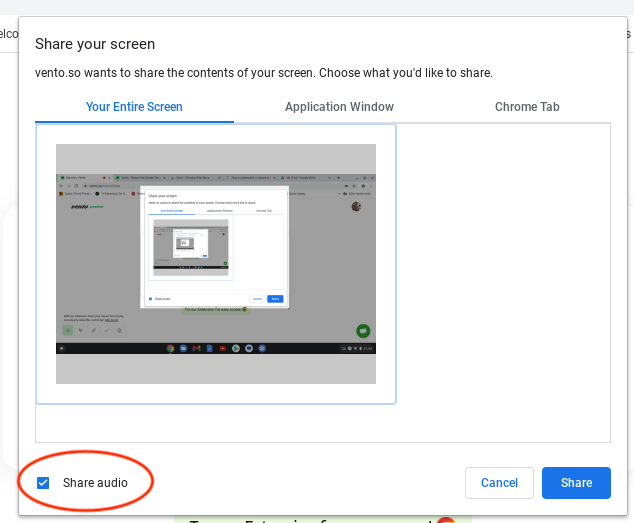
Make sure that "Share audio" is checked if you want your internal audio to be recorded.
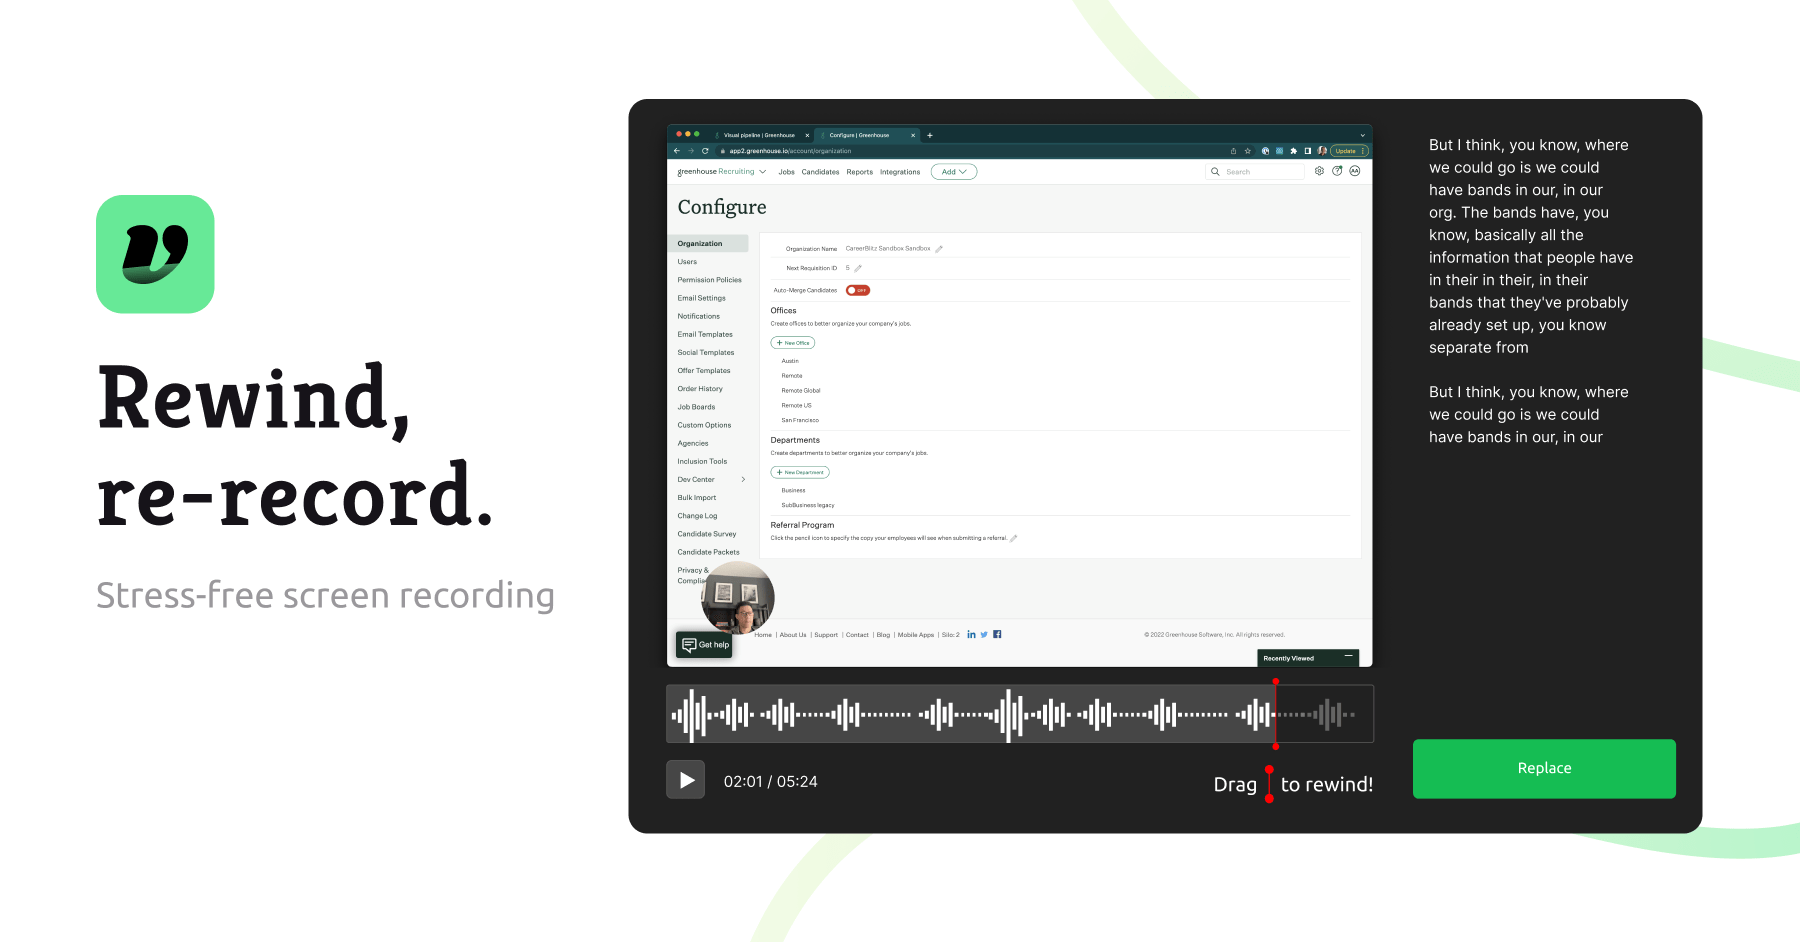
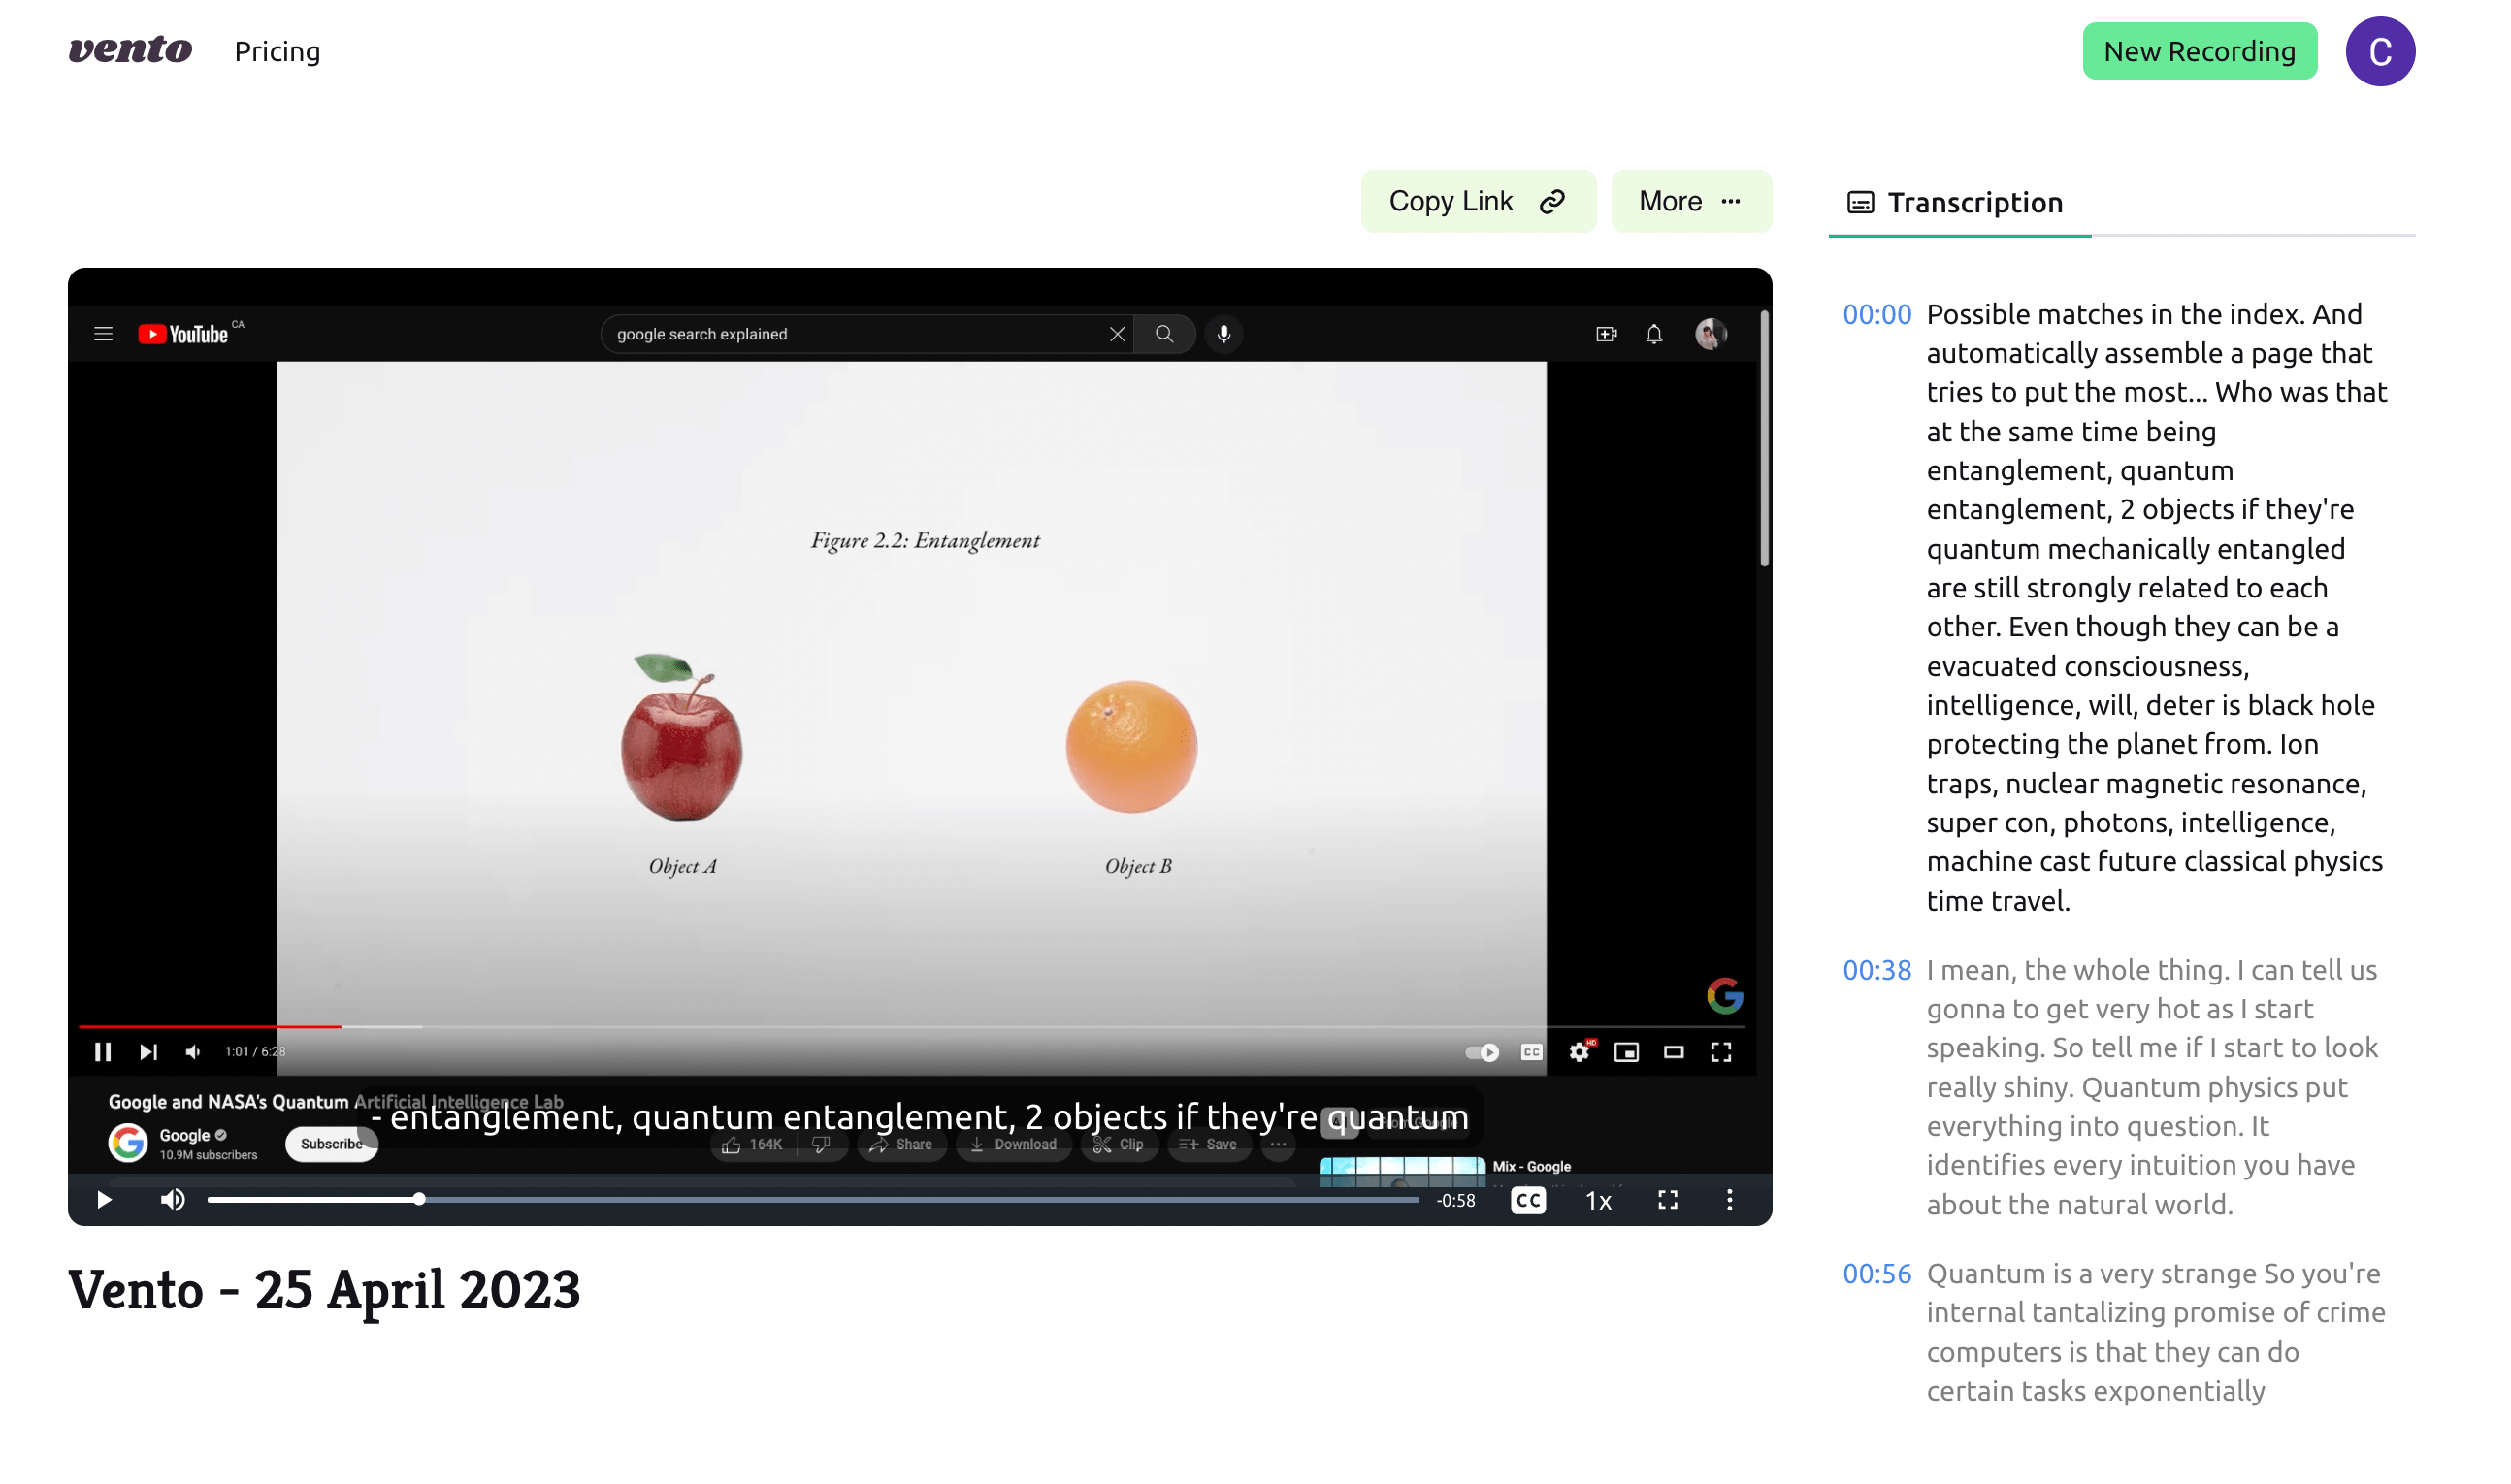
Step 4: Record with Pause and Rewind
As you record, you can pause and rewind the video to fix mistakes. This is a unique feature of Vento that makes it easy to create polished videos without having to start over from scratch.
Step 5: Finish and Save

When you're done recording, click on the "Save Video" button to save your video. Once finish saving, videos will be available via a link to share!
There are other features available such as:
- Password protection
- Embedding your recording
- Adding Author Annotation
- Creating Chapter Headings
Method 2: Using the Built-In Screen Recorder to Screen Record on Chromebook
If you don't want to use a third-party tool like Vento, you can also use the built-in screen recorder on your Chromebook. Here's how to do it:
Step 1: Open the Quick Settings Menu
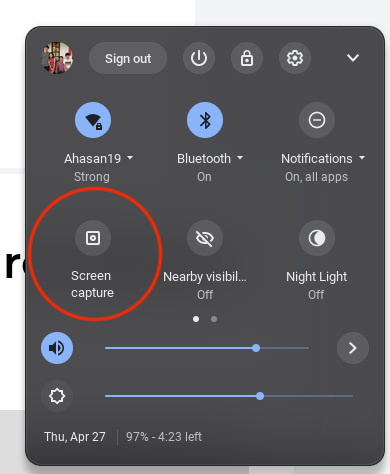
To access the built-in screen recorder, click on the Quick Settings menu in the bottom right corner of your screen. Click on the "Screen capture" button and the following popup will showup. Alternatively, you can also click Shift + Ctrl + Show windows  on your Chromebook keyboard to easily open the screen recording app.
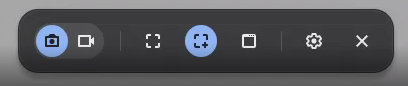
On the far left, you can toggle between screen shot mode or screen record mode. The middle three buttons allows you to record in three different ways:
- Full / Entire Screen
- Partial Screen
- Specific Window
Step 2: Record with Audio
Note: The native Chromebook screen recorder doesn't seem to record internal audio
To record audio from your microphone, click on the settings button from the toolbar, which should look just like a gear.
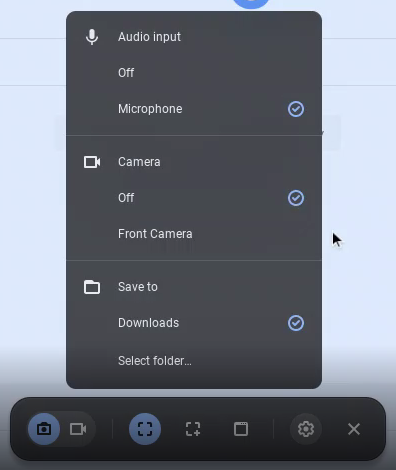
Select "Microphone" for your audio input. You can also change other settings such as toggling your webcam for the recording, or changing the folder that your screen recording will be saved to.
Step 4: Stop and Save

When you're done recording, click on the "Stop" button in the bottom right of your taskbar, as shown in the photo above. And voila, your screen recording should be saved to the folder you select previously (defaults to "Downloads" folder)!
Conclusion
Now that you know how to screen record on Chromebook with Vento and the built-in screen recorder, you can easily create videos to share with others with the ability to record internal/system audio. Whether you're creating a tutorial or just want to show someone how to do something, screen recording is a useful tool to have at your fingertips. With Vento's unique pause and rewind feature, you can create polished videos without having to start over from scratch.